


Let’s be honest—nobody loves ID photos, right? They’re notorious for capturing us in the most awkward, unflattering ways possible. But here’s the thing: ID photos stick around. School IDs, learner’s permits, student passes—you’ll be flashing that pic everywhere.
Prepping for the Perfect ID Photo
Requirements
Before you even think about posing for the camera, it’s super important to understand the specific requirements of the ID photo you’re taking. Whether it’s for a school ID, driver’s permit, passport, or library card, each institution has its own strict guidelines. These rules exist to ensure consistency and proper identification, and if you don’t follow them, your photo might be rejected—costing you time, effort, and maybe even a reshoot fee. For U.S.-based IDs, you’ll generally need a square or rectangular photo, with common dimensions being 2×2 inches or 600×600 pixels for digital formats. Be sure to check the exact dimensions and size requirements from the organization requesting the ID—don’t just guess or go by what your friend did.
Choose the Right Clothing
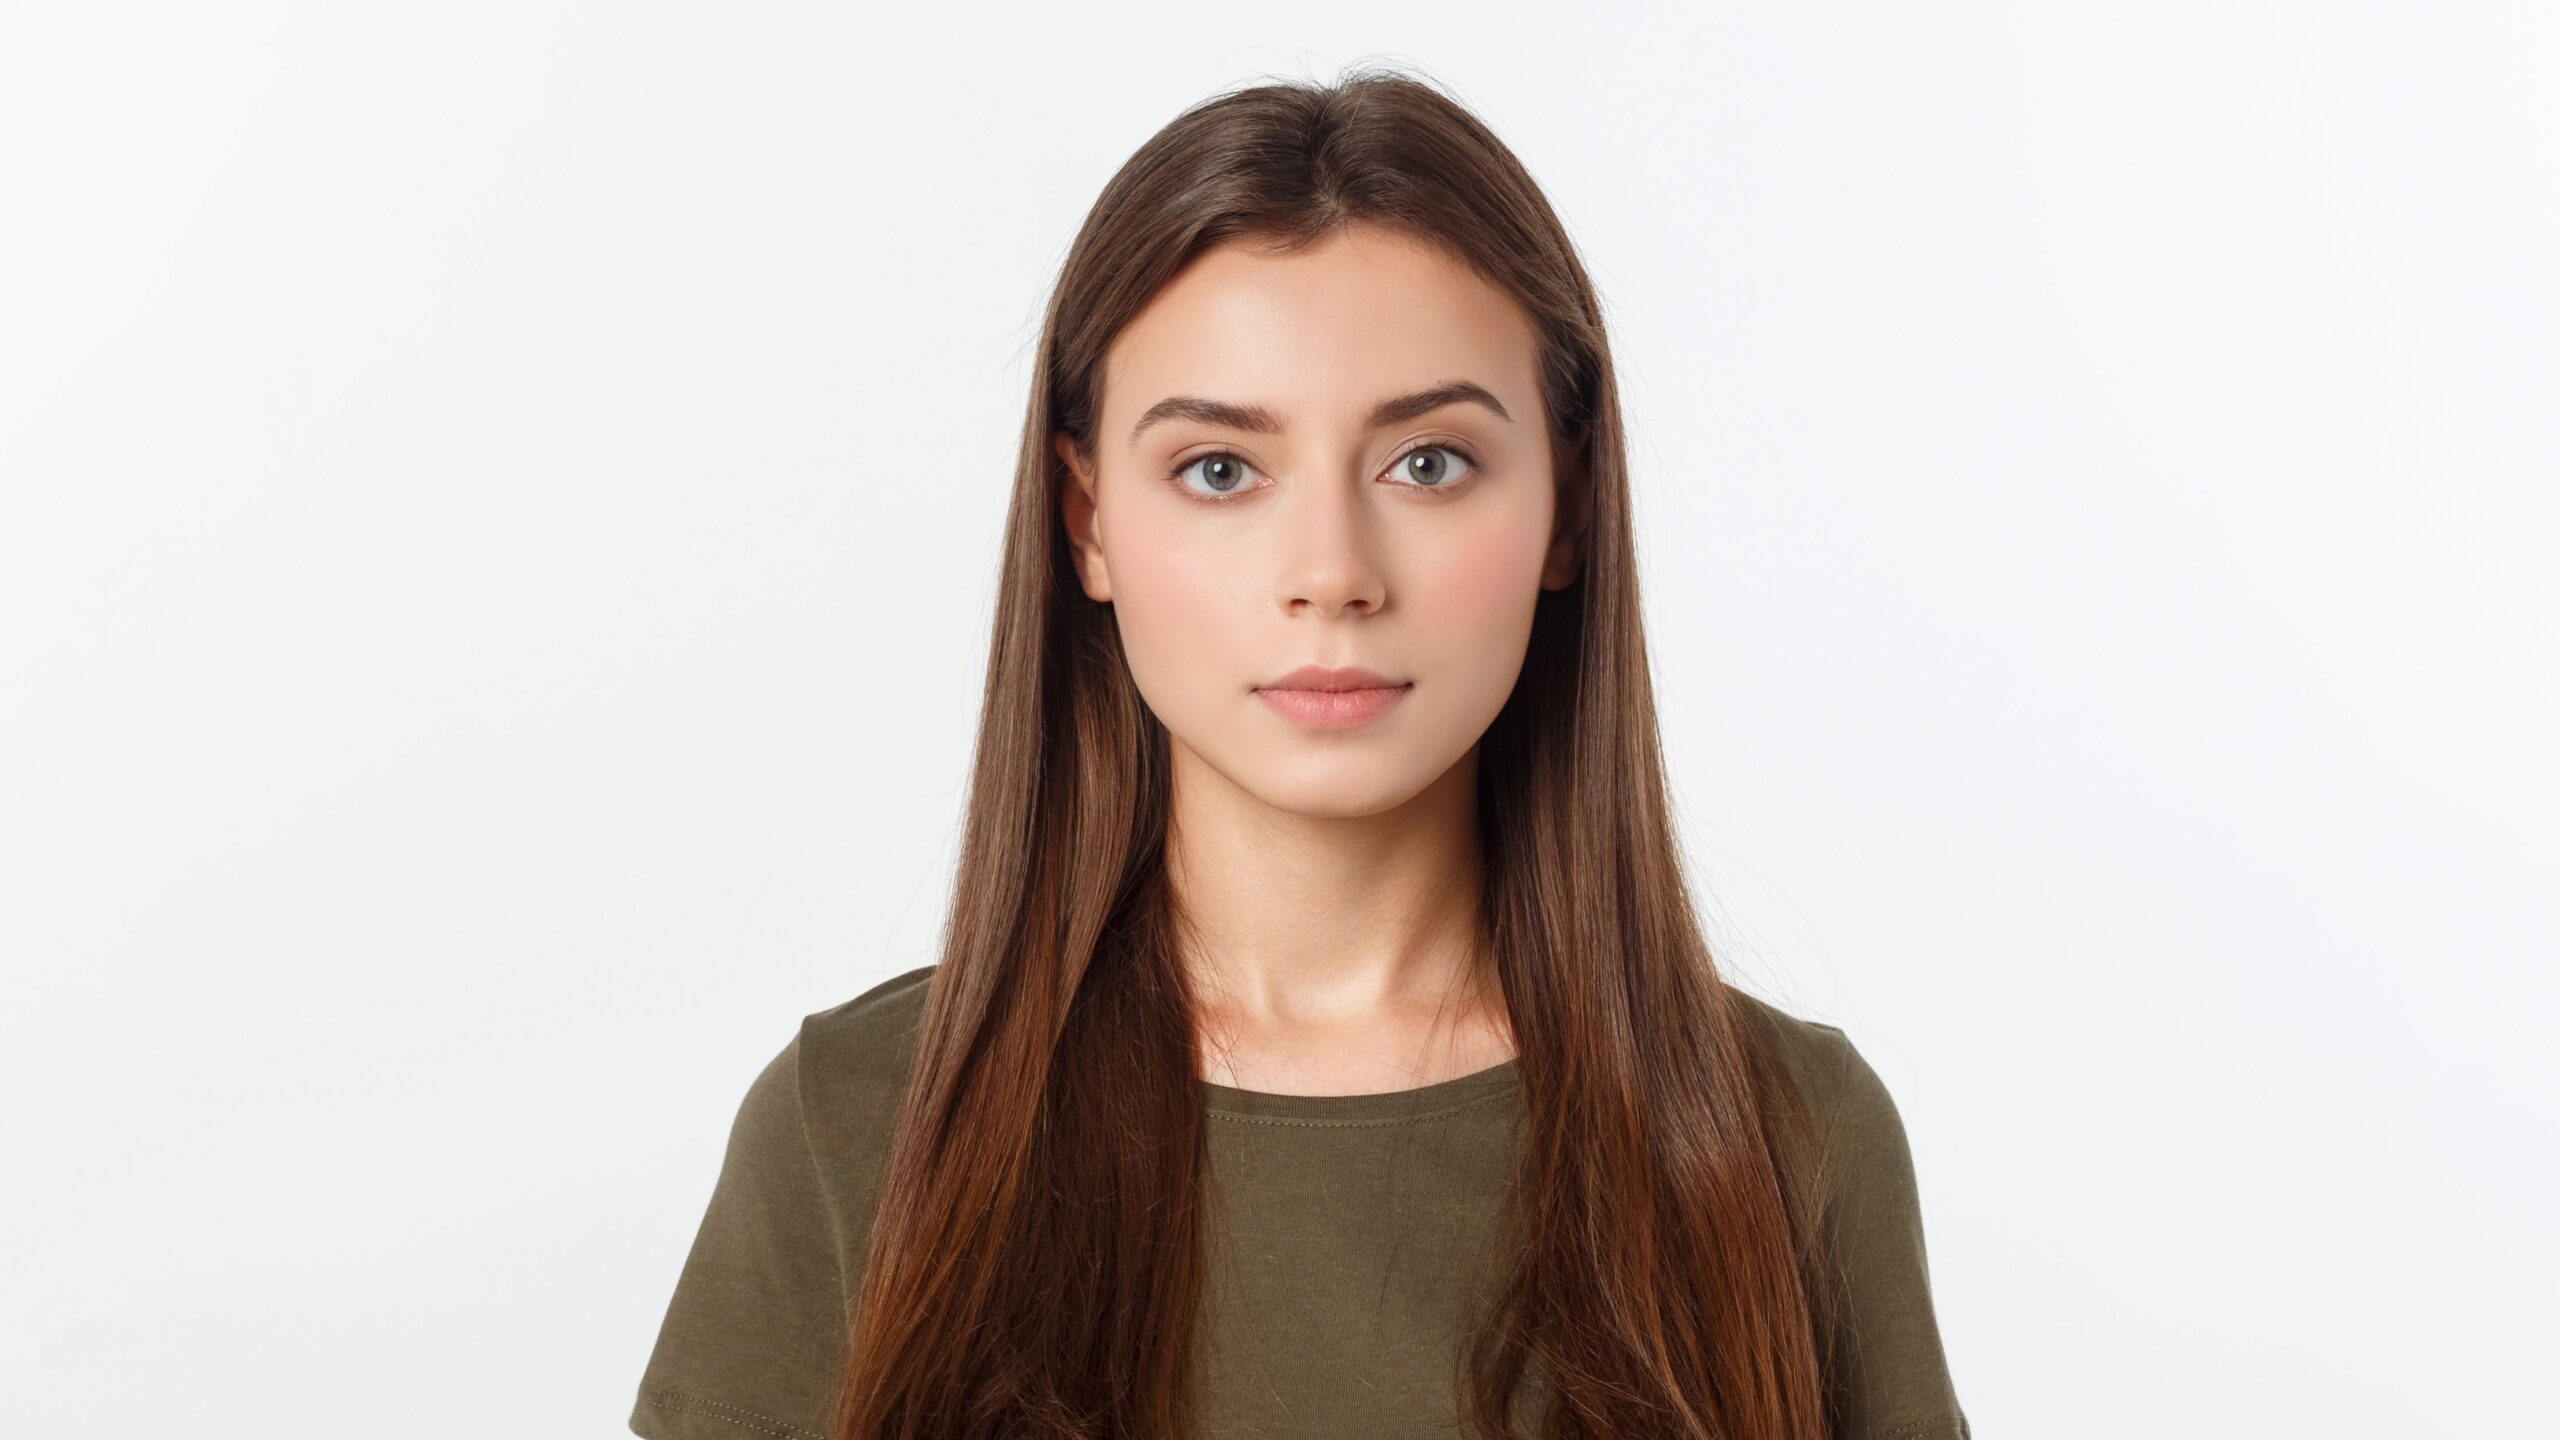
When it comes to choosing what to wear for your ID photo, simple and clean is the way to go. The clothes you choose should complement your face, not compete with it. Solid colors are your best friend—no flashy logos, loud patterns, or neon graphics. These types of clothing can either get cropped out awkwardly or distract from your face, which defeats the whole point of the photo. One critical tip: avoid wearing white if your background is white. It may sound harmless, but you’ll end up looking like a floating head or a ghost in the picture. A shirt or blouse in navy blue, soft gray, or forest green usually looks great and photographs well.
In terms of color choice, you want something that pops just enough without being too bold. Earth tones, muted colors, or classic shades like deep red or teal tend to work well for most skin tones. Stay away from neon colors or anything with high contrast, like black and white stripes—they can mess with the camera exposure and might not look good under ID lighting. Also, dress the way you normally would. If you wouldn’t wear a collared shirt to school on a regular day, you don’t need to wear one for your ID photo. The goal is to look like yourself on your best, most natural day—not like you’re headed to a job interview.
Grooming and Hygiene Tips
You don’t need to look like a runway model, but basic grooming can make a huge difference in how your ID photo turns out. Start with the essentials: wash your face, brush your teeth, and make sure your hair is clean and neat. If your hair tends to frizz or get greasy quickly, give it a quick touch-up before taking the photo. Style it the way you normally wear it for school or everyday life—don’t experiment with a totally new look right before photo day. For long hair, brushing it behind your shoulders ensures that it doesn’t block your face or cast shadows. The goal is to have a neat, presentable appearance without trying too hard.
When it comes to makeup and skincare, less is definitely more. A clean, moisturized face with a bit of powder to reduce shine is usually all you need. If you normally wear makeup, go ahead—but keep it natural. Use light foundation or BB cream if necessary, a touch of lip balm or neutral gloss, and minimal eye makeup. Skip anything dramatic like heavy eyeliner, bold lipstick, or glittery products. Remember, this photo is for official identification—it should reflect what you look like in real life. Think of it like meeting your school principal or taking your driver’s license test: polished but natural is the sweet spot.
Lighting and Setup
Proper lighting and background setup can completely transform how your ID photo turns out. Even if everything else is perfect—your outfit, your grooming, your posture—bad lighting can wash you out or cast weird shadows on your face. That’s why spending a few extra minutes adjusting your setup is absolutely worth it. Whether you’re taking the picture at home or at a local photo center, understanding how lighting and background work together will help you look your best and meet official photo requirements.
Many teens overlook this step, assuming that snapping a pic with their phone under a bedroom light will be “good enough.” But the truth is, poor lighting can lead to blurry or grainy photos, uneven skin tone, or even a rejected submission if your face isn’t clearly visible. So let’s break down exactly how to get it right—starting with lighting, and then looking at how to create the best background for your photo.
Natural vs Artificial Lighting
When it comes to taking a great ID photo, natural light is your best friend—specifically, soft daylight. The ideal time to take your photo is during the early morning or late afternoon, known as the “golden hour.” That’s when sunlight is soft, warm, and flattering. Stand near a window that lets in plenty of indirect sunlight, and face the window straight on. This setup provides even lighting across your face, minimizes shadows, and adds a natural glow to your skin tone. Just make sure the light isn’t too direct or harsh, which can cause squinting or overexposure.
If natural light isn’t available—say it’s raining outside or you’re taking the photo at night—you’ll need to use artificial lighting. But not just any lamp will do. Overhead ceiling lights tend to create downward shadows under your eyes or chin, which can make you look tired or distorted. Instead, use two lamps placed at face level, one on either side of your camera, to balance out shadows. If possible, use LED lights with a soft white color temperature (around 5000K) for the most natural look. Here’s a quick checklist to remember:
- Use natural daylight if possible, especially in the morning or afternoon
- Position yourself facing a window, never with the window behind you
- Avoid overhead lights—they create unflattering shadows
- Use two soft lamps at eye level for balanced artificial lighting
- Skip colored bulbs or tinted light—they distort skin tone
Best Backgrounds for ID Photos
Now let’s talk about what’s behind you in the photo—because yes, your background matters just as much as your face. Most official ID photos in the U.S., whether for school, driver’s permits, or passports, require a plain background, usually white, light gray, or off-white. The cleaner and simpler the background, the more professional your photo will look—and the higher your chances of it being accepted. If you’re at home, hang a plain white bed sheet or curtain against a flat wall. Just make sure it’s smooth and wrinkle-free. The fabric should hang evenly without any folds or shadows.
Avoid backgrounds with patterns, textures, or objects that can distract from your face. Posters, picture frames, furniture, and even patterned wallpaper can cause your photo to be rejected—especially if they interfere with your head or shoulders in the frame. The background should also be evenly lit to avoid harsh contrasts or shadows. Stand about 2–3 feet away from the wall to prevent casting shadows behind you. If you’re not sure whether your background meets the requirements, take a test photo and zoom in—if anything looks distracting, it’s best to fix it before your final shot. Follow this simple checklist:
- Use a plain white, off-white, or light gray background
- Hang a wrinkle-free sheet or use a bare, smooth wall
- Avoid posters, picture frames, or decorations behind you
- No bright colors or textures that pull focus from your face
- Stand 2–3 feet away from the wall to prevent shadows
- Make sure your background is evenly lit, with no dark spots
Camera Tips and Techniques
What Camera to Use
When it comes to capturing a quality ID photo, the device you choose matters more than you think. While professional cameras like DSLRs provide the highest quality, they’re not necessary for everyone—most modern smartphones are more than capable of producing high-resolution, clear images. If you’re using a phone, always opt for the rear (main) camera instead of the front-facing one, since the rear typically has better sensors, sharper focus, and higher megapixels. The final image should be crisp, not pixelated or blurry. A minimum resolution of 720p (HD) is required, but going for 1080p (Full HD) or higher is even better to ensure clarity, especially when printing or submitting digitally.
| Device Type | Best Use Case | Quality | Recommended? |
| Smartphone (Rear) | Home setups, most teens | High (1080p+) | Yes |
| Smartphone (Front) | Selfies, limited angle control | Medium (720p–1080p) | Use only with tripod |
| DSLR Camera | Professional quality, serious users | Excellent (4K+) | Best option |
| Point-and-Shoot | Compact but decent quality | Medium to High | Good alternative |
No matter which camera you choose, stability is key. Use a tripod if you can, or prop the camera against a solid surface. Clean the camera lens before shooting. If you’re using a phone, turn off any beauty filters or auto-retouching features—they may cause your photo to be rejected for not accurately representing your appearance.
Framing and Positioning
Proper framing ensures your ID photo looks professional and meets official guidelines. A common mistake is cropping the photo too tightly, which can result in your hair or part of your shoulders being cut off. Make sure the frame includes your entire face, the top of your head (including hair), and the top of your shoulders. There should be some space above your head and on each side. This balance helps center your image and gives a clean, official look. Also, ensure your eyes fall in the correct area of the photo—most ID requirements ask that the eyes are positioned between 55%–70% of the image height from the bottom.
Equally important is how you position your body and face in the frame. Always take your photo at eye level—placing the camera too high or too low distorts your facial proportions. Whether sitting or standing, keep your back straight and your shoulders relaxed. Look directly into the camera lens, not at the screen, to avoid awkward eye angles. Don’t tilt your head or turn it to the side. This might feel more “natural” in selfies, but it won’t fly in an ID photo, where symmetry and a clear, forward-facing angle are essential.
Facial Expression Do’s and Don’ts
Your facial expression can make or break your ID photo—especially since you’ll probably have to look at it for a year or more! For most official identification in the U.S., a neutral expression is required. That means no big smiles, no frowns, and no squinting. Your mouth should be closed, your eyes fully open, and your face relaxed. Think of the expression you’d have if someone casually asked you to pose for a photo at the DMV—not overly serious, but definitely not goofy. The goal is to look calm, approachable, and natural.
Some states and schools do allow a slight smile—just a small upturn at the corners of your mouth, with no teeth showing. However, rules vary, and if you’re unsure, it’s safest to go with a neutral expression to avoid the risk of rejection. Avoid raising your eyebrows or tilting your head. And don’t try to “smize” like a model. Just keep your face natural and soft. Practicing in a mirror before taking the photo can help you find that sweet spot between looking friendly and looking bored.
Taking the Photo
Solo or with Help
Taking your own ID photo is totally doable these days, but it does come with challenges. Selfies, for example, are not ideal for ID photos because the front-facing camera lens usually has a slight curvature that can distort your facial features—making your forehead look larger or your chin narrower. If you’re going solo, use a tripod or set your phone on a stable surface, and activate the timer. This allows you to use the rear camera (which is better quality) and still get into the proper position. However, be prepared to take many trial shots to get everything just right, especially the framing and lighting.
That said, having someone help you is usually the better option. Ask a parent, sibling, or friend to take the photo for you. Make sure they understand the guidelines—straight-on angle, proper lighting, no shadows or weird framing. You can even mark a spot on the floor to show where you need to stand and tape a guideline on the wall behind you to center yourself. Review each shot together before taking the next one. Having an extra set of eyes can make the whole process smoother and help you notice things you might miss on your own.
Retakes and Reviewing
One of the best things about taking your ID photo at home is the ability to take as many shots as you need—so don’t be afraid to do multiple retakes. It’s totally normal to take 10, 20, or even 50 shots until you find one that you’re happy with. Your ID photo might be used for a year or more, and it’ll show up on everything from student records to your online profiles. Take your time and don’t settle for the first OK shot. Lighting might change slightly between takes, your posture might shift, or your expression might look too forced. Don’t rush it.
After you’ve taken your photos, review them carefully. Zoom in to check for blurry details, facial shadows, red eyes, or subtle tilts in your posture. Ask yourself: Are both eyes clearly visible? Is my face evenly lit? Are there any distractions in the background? It’s also smart to compare your best few shots side-by-side to see which one meets all the requirements and flatters your natural look. It might help to get feedback from someone you trust before submitting the final one. Remember, editing can only fix so much—it’s better to retake than to overly rely on touch-ups.